Groom Like A Pro
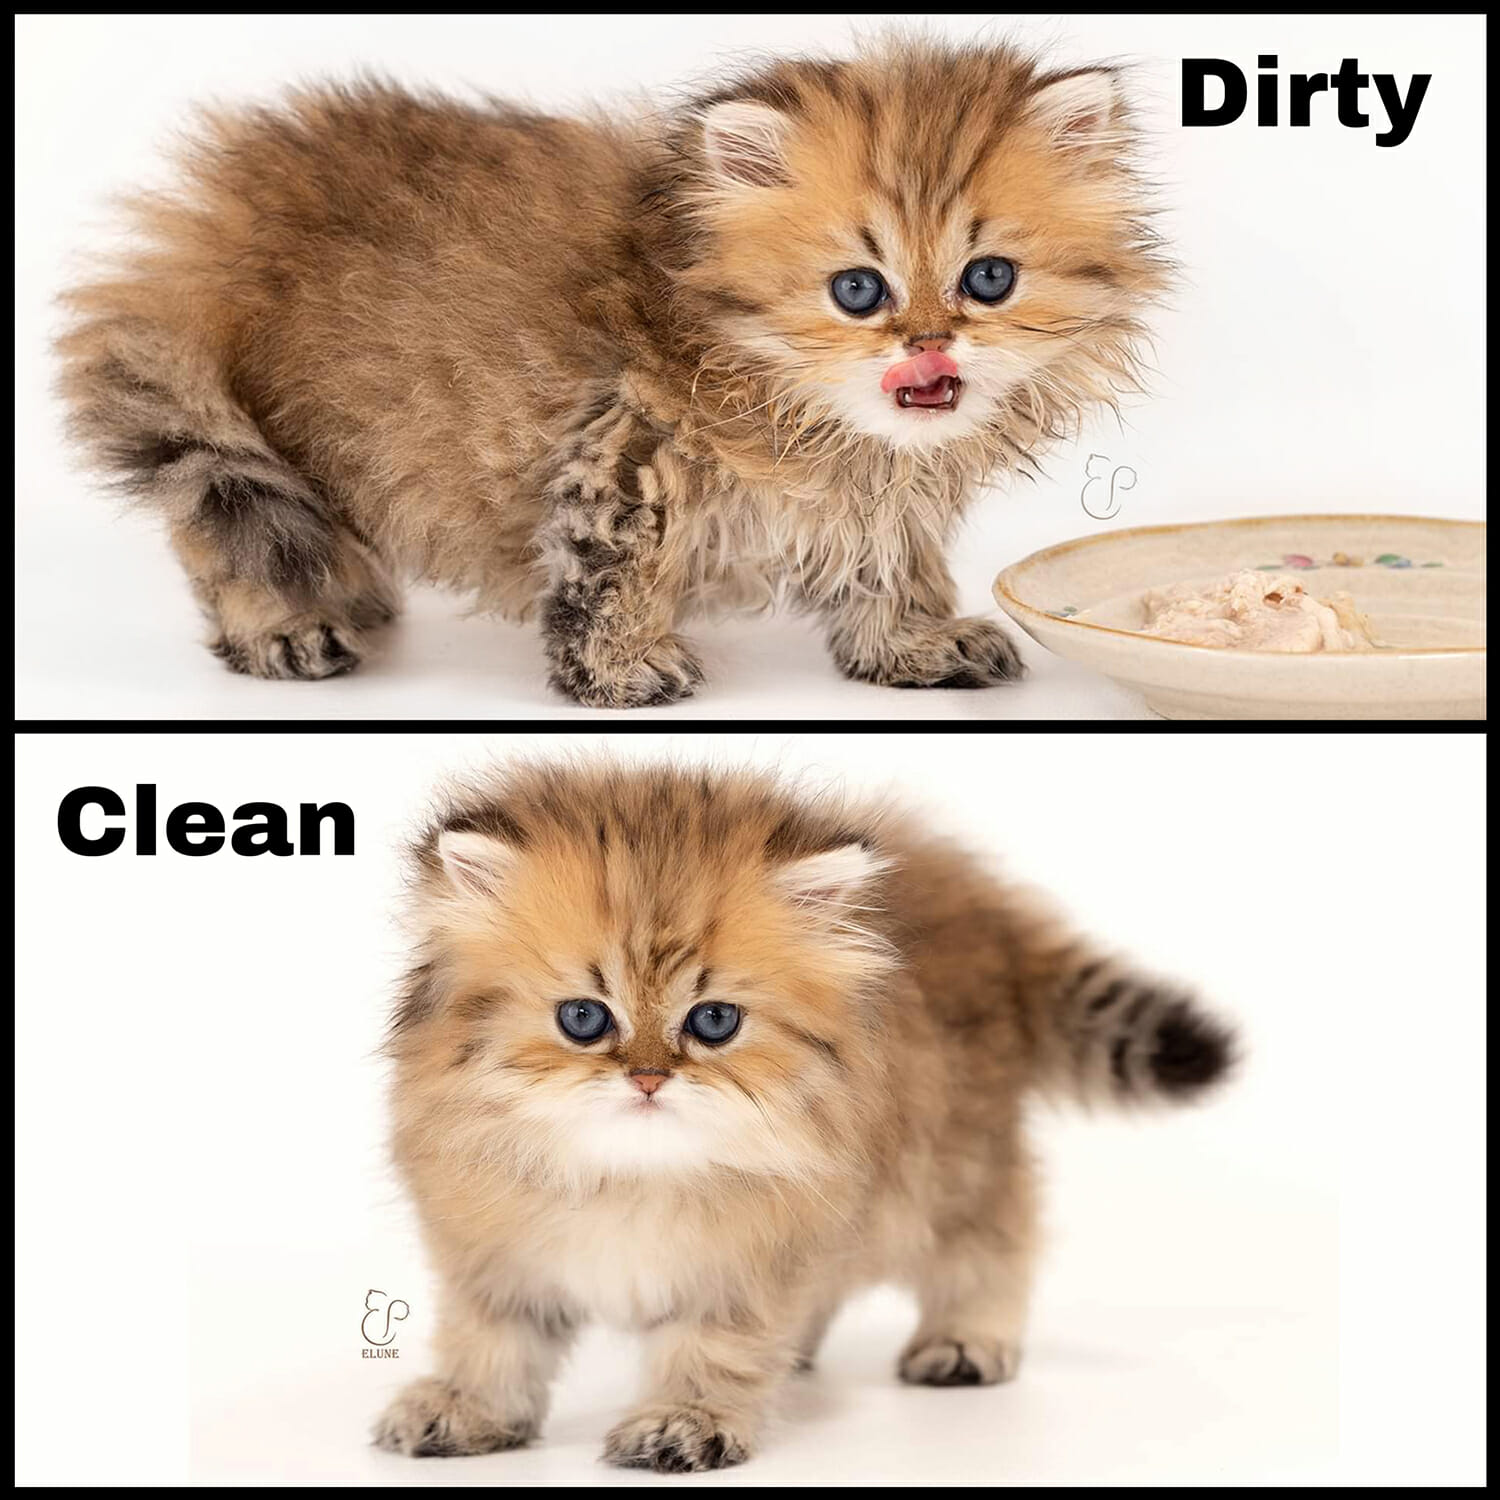
Did you know that oils in a Persians coat is what causes them to mat quickly and be difficult to comb? Persian cats have so much furr they simply cannot keep themselves clean. They need our help.
For that reason, it is very important to train Persian cats to tolerate baths. This blog will walk you through my grooming process so you too can manage your cats beautiful long dense coat like a pro.
I will disclose my entire supply list, bathing and drying process. If you follow the steps below the results will likely astound you! Knotting will decrease, combing will become easier and your relationship with your cat will ultimately improve. Not to mention, they will wear the extravagant coat of a show cat. For more reasons, read this blog post: Why to Bathe my Persian cat? (coming soon)
Let’s get started!
Before bathing, collect your supplies:
- Nail trimmer
- Sterile eye rinse
- Eye lube
- Ear cleaner
- Greyhound comb
- Facial brush
- Q-tips and cotton rounds
- Clippers and scissors
- Original dawn dish soap
- Orvis degreaser
- F & T degreaser
- Towel
- Drying box (optional)
- High pressure blower
- Lots of love
Have your supplies at hand in one spot so you do not have to travel far.
Note: The grooming process takes about 20 to 30 minutes per kitten and 45 min to an hour for adults. If done frequently, and the cat is well trained, it can be enjoyed by your cat and you. The secret is repetition and technique. Practice builds tolerance.
Part 1: Preparing for Bath Time
Trim Nails, Comb, Remove Knots, Rinse and Apply Eye Lube
— Trim Nails —
To start, trim your cats nails. Nearly all cats, whether well trained or not, will inevitably try to escape at some point. Trim above the quick so that you do not cut them. If you are unfamiliar with the process, I recommend you buy Kwik Stop. This product stops bleeding quickly so you may continue.
— Comb —
Next, comb as much loose undercoat off your kitty as possible. Use a greyhound comb. Comb in one direction, from front to back. A comb with long stiff bristles will reach the undercoat; a brush will not. The section of your greyhound comb with the wider gaps is intended for thicker knots; the section with the thinner gaps is intended for thinner knots.
— Remove Knots —
If your kitty has knots you must remove them. If they are very close to the skin I recommend using a cordless clipper. I’ve found the corded version of my recommended clippers has a frequency that my cats do not tolerate well. If your kitty acts unruly, I recommend scrufing them. Sometimes, if they are not accustomed to being shaved, you may require the help of an assistant to prevent them from biting and scratching you.
Note: Don’t cheap out on your clipper. Many clippers will bog when trying to cut through mats on a Persians thick undercoat.
— Rinse & Apply Eye Lube —
Once your kitty is thoroughly combed and has no knots, you must rinse their eyes and apply eye lube. Eye lube will create a barrier between their cornea and chemicals you may accidently get in their eyes during bath time. Make sure to pull out the lower eyelid so the eye lube penetrates the lower portion of the cornea.
At this point, you can clean their eyes if you wish or you can leave that step for during or after the bath. To clean the fur around their eyes, I dab q-tips in a Whitening Shampoo and gently scrub the area to help reduce any tear staining. Then I use cotton rounds to soak the area to remove the shampoo. Then dry the eye area with dry cotton rounds. Clean eyes with warm to hot water only; not cold water. The warm water will help break up solid facial crust faster than cold water making the process more tolerable for you and your cat.
— Clean and Protect Ears —
Clean your cats ears only if they have visible ear wax. To clean, pour a small amount of an ear cleaner such as epi-otic into your cats ears or soak a cotton ball and insert into ear, then massage fluid into the ear canal. Use cotton rounds to clean the outer dirty areas and q-tips to clean the narrow sections and ear canal. Insert the q-tip as far into the ear canal as possible and swerve in all directions. When you feel resistance from the ear canal narrowing, stop pushing; you don’t want to rupture the ear canal.
If your cat does not need an ear cleaning, inset a cotton ball into the ear canal to protect moisture from the bath causing an ear infection.
Part 2: Bath Time
Dawn Original + Ovus and F&T Degreaser
Here are four techniques to make bathing more tolerable for you and your cat.
- Massage your cat
- Speak to them
- Scruff them
- Keep them continually moving
This will reduce their stress and make the process overall more pleasant for both of you. If your cat is acting unruly – jumping, kicking, rolling or yelling at you, don’t be afraid to scruff them. To scruff them, grab them with your palm of your hand above the shoulder blade and below the skull, pulling as much skin into your palm as possible and hold them tight. Mother cats pick up kittens by their scruff during travel. This immobilizes them. If done properly, it has a similar effect when humans do it. I find that scruffing and pushing down works better to restrain than scruffing and lifting up.
Round 1: Dawn Original and Orvus
It’s bath time! The degreasers I use are Dawn Original, Orvus, and F&T. Mix a generous amount of Dawn and Orvus on your cat, lather and rinse. The dryer the coat and the longer you leave the degreaser on their coat the more effective it’ll be to remove oils. Leave this degreaser combo on for at least 2-5 minutes.
Round 2: F&T Degreaser
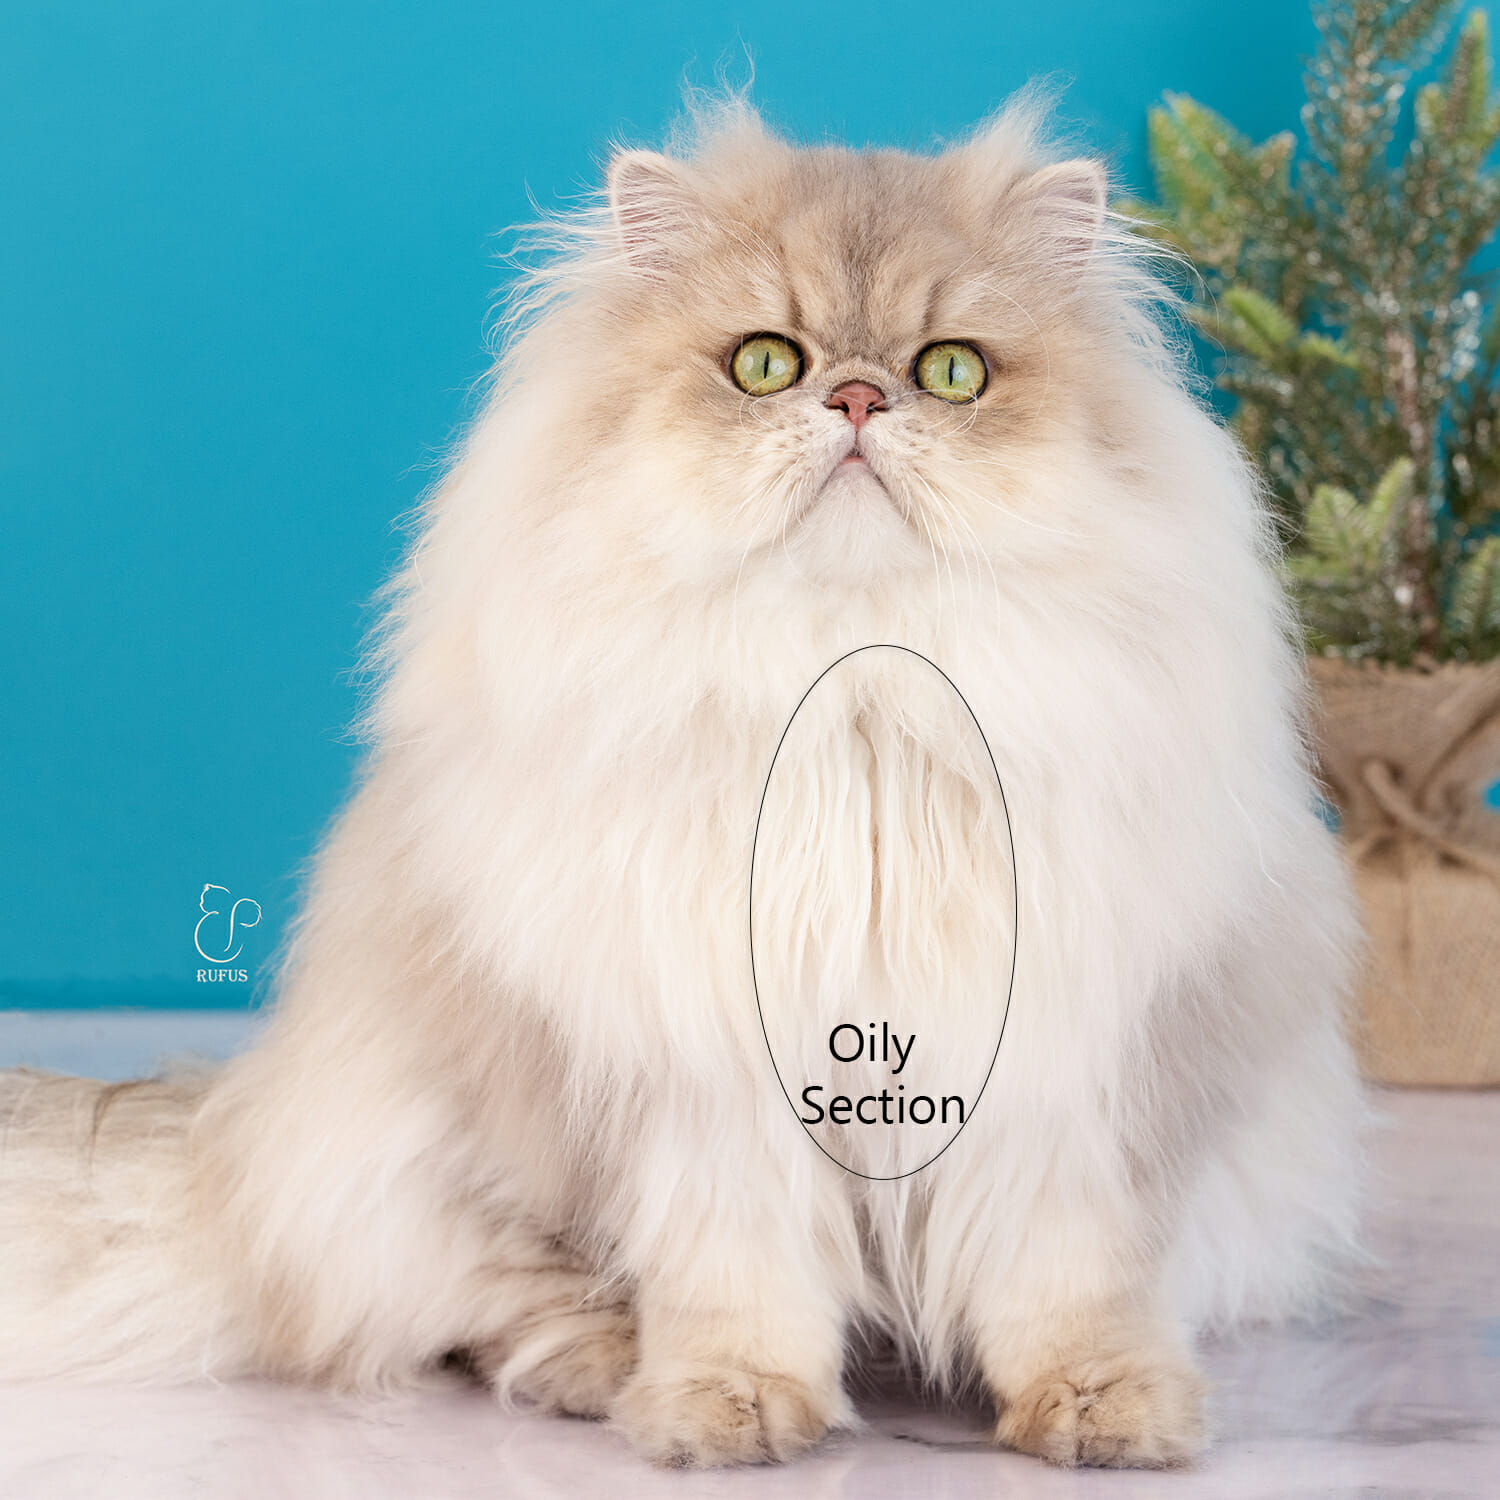
Optional: The F&T degreaser is a very strong, concentrated degreaser used to remove stubborn oils. If you want your cat to look super fluffy, like a show cat, use it. If you want to deter mats from forming for the longest time possible post bath, use it. I use it particularly on the areas that absorb the most oils from the environment, such as the chest, belly and butt.
To use this product, dilute as recommended on the bottle. If you use as a concentrate, make sure to stay far away from your cats eyes and do not use a large amount. Use a moderate amount and quickly dilute with water and scrub. Apply to their coat with a focus on their underside – chest, belly thighs and butt. This product does not lather very foamy. Leave on for at least five minutes. Rinse thoroughly. When you think you’ve rinsed well enough, rinse again! Residue will cause matting. Each degreaser mentioned above acts on different oils creating the cleanest, driest coat possible.
While using the degreasers, be extremely mindful of these two rules:
1. Do not get chemicals in your cats, eyes, ears, mouth, or nose.
2. Rinse rinse rinse. Residue left on your cats coat defeats the purpose of the bath.
Do NOT Use Conditioners.
Conditioners are meant to be used on cats showered once a week or more often; true show cats. Conditioners add oils back into the coat and skin. Cats naturally secret oils through their skin over time and they absorb oils from the environment. Oils weigh down the coat and increase the frequency of mating post bath.
Part 3: Drying Your Furrball
Towel Drying, Box Drying and Blow Drying
— Towel Drying —
Once your cat is thoroughly rinsed, squeegee as much water off as possible and burrito wrap them in a towel.
Intermittent step: While your cat is burritod, rinse their eyes out thoroughly and place more eye lube in preparation for the box dryer or high velocity hand dryer. If you believe you may have splashed any chemicals into their eyes during the bath, rinse extra.
Towel dry your cat using front to back motions only. Do not scrub them vigorously because this may cause matting. Now comb them. You may find that it is difficult to comb a wet cat. This is normal. I generally comb about 60% of their coat before placing them in the box dryer or using a high velocity hand blower.
Do not let them air dry. If you let them air dry, they will retain the loose undercoat and possibly dry with knots in the process. You want their coat to be loose and fluffy. Air drying will not achieve this goal and will defeat the purpose of the bath.
— Box Dryer —
Once you have towel dried your kitty and combed them as much as possible, I recommend placing them in a box dryer. This is the step where you get to relax and your kitty will unwind.
If your kitty is new to the step, they may paw at the door and meow in desperation to be released. Due to the temperature change and newity, some may even pee. This is a common reaction of untrained cats. After a few sessions in the box dryer, your kitty will learn to tolerate and even enjoy it. My adult cats sit quietly; some even sleep there. In order to destress, your cat must lose their fear of it (as they must for the bath). Have a heavy heart because it will pay off in the long run.
Leave your cat in the box blower until it is 80 to 90% dry. Check on your cat periodically. Comb them every 10 to 15 minutes to help part their furr for a quicker dry.
— Hand Blower —
Once your kitty is largely dry, use a high velocity hand blower to release the stubborn, loose undercoat and finish drying them. This step is critical to ensuring a properly dried, super fluffy, easy-to-comb cat.
During this step, follow these 3 rules:
- Scruff your cat. Majority of cats, even my tolerant adults, require scruffing (even if gently) at this time.
- Hold the nozzle of the blower close to their body at all times. This will best direct the noise and pressure to one spot making it a lot more bearable for them.
- Blow air away from their face. Never blow air into your cats eyes, nose, mouth, or ears. If you do so your cat will likely become fearful and fight you.
Practice scrufing your kitty on their side and angling the blower in directions that they are comfortable with. If your cat struggles, scruff a little tighter and press downward onto the table or whatever surface you’re working on. Do not float them in the air or let them kick off the table or do crocodile rolls. Hold down securely in a position that prevents them from backing or squirming.
The process of hand drying with a high velocity blower is often described as the most difficult to master step by my kitty owners. If needed, remind yourself that practice builds tolerance. Your skills will improve over time once they learn that the noise and pressure will cause no harm.
Once your cat is fully dry (95% counts), rinse their eyes thoroughly.
Congratulations! You are almost done.
Part 4: Offer Lots of Love and Praise
If you’ve made it this far, you are a champ! Pat yourself on the back and praise your cat. Most kitties build up an appetite during their grooming session. Try offering your cat some food as a reward. If you’re new to this process and your kitty was not very cooperative, don’t stress it, next time will be better. The most important thing to keep in mind is that practice builds tolerance.
If your cat tears, you may want to use a grooming powder such as Eye Envy to repel tears and keep their face clean.
Keep Purring,
Roxy
Thank you for such a thorough description of grooming technique!
great